A Rolex Datejust should feel balanced and secure on the wrist, and that comes down to proper bracelet sizing. If you have no idea how to adjust Rolex Datejust bracelet links or use Easylink correctly, the process becomes simple once you understand the system your model uses.
Different Datejust versions use Oyster or Jubilee bracelets, and each one adjusts slightly differently. This guide shows exactly how each adjustment system works, including Easylink comfort sizing, Oysterclasp and Crownclasp micro-steps, modern screw-link removal, and the unique pin-and-tube construction on vintage Datejust bracelets.
Rolex Datejust Bracelet Overview
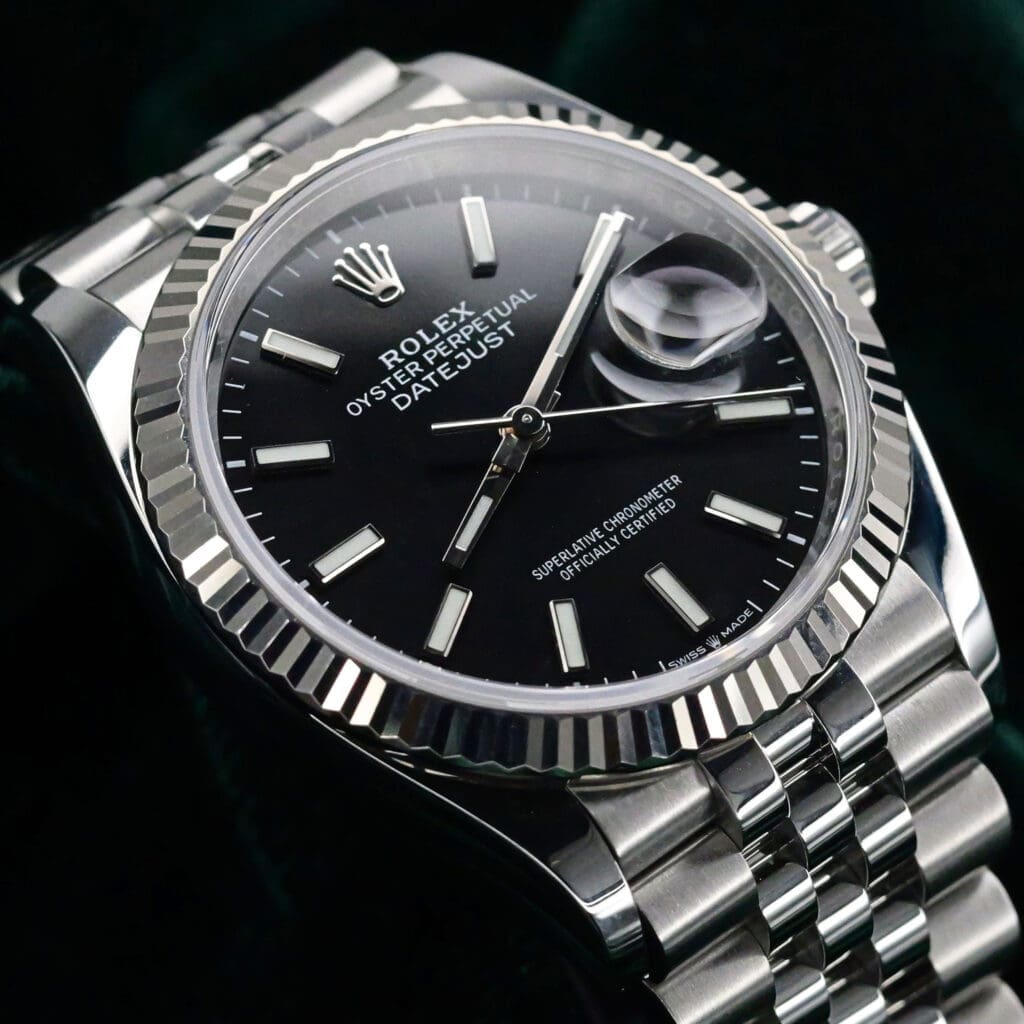
The Datejust comes with two primary bracelet styles, and each one affects how the watch fits and adjusts. The Oyster bracelet has a sportier three-link design, while the Jubilee bracelet uses a five-link pattern that feels softer and more flexible on the wrist.
Both are built with solid links on modern references such as the 126200, 126300, and 126234, which makes sizing more stable and secure than older hollow-link versions.
Clasp types also differ. Oyster bracelets typically use the Oysterclasp, which includes internal micro-adjustment positions and often the Easylink 5 mm comfort extension. Jubilee bracelets, on the other hand, often use the hidden Crownclasp, where the adjustment mechanism sits discreetly inside the clasp.
Older Datejust bracelets may rely on hollow links or pin-and-tube systems, while modern versions use screw links and updated clasps that offer smoother, safer adjustments. Once you know which bracelet and clasp your Datejust is fitted with, you can move confidently into the sizing methods tailored to your specific configuration.
Available Jubilee Models
2026 NEW UNWORN Rolex GMT-Master II Bruce Wayne Black Gray Bezel Green GMT Hand Stainless Steel Jubilee 40mm COMPLETE SET 126710GRNR-0003
Rolex Datejust 36 AM Mother of Pearl Dial AM Natural Diamond Bezel Jubilee Bracelet Stainless Steel MINT CONDITION 16030
Rolex Datejust Champagne Dial Diamond Markers Fluted Bezel Jubilee Bracelet Two-Tone 18K Yellow Gold Stainless Steel 36mm MINT CONDITION COMPLETE SET 126233
Rolex GMT-Master II Pepsi Black Dial Blue Red Ceramic Bezel Jubilee Bracelet Stainless Steel 40mm MINT CONDITION COMPLETE SET 126710BLRO

2026 NEW UNWORN Rolex Datejust White Dial 18K White Gold Fluted Bezel Jubilee Bracelet Stainless Steel 41mm COMPLETE SET 126334-0010
Rolex GMT-Master II Pepsi Black Dial Blue/Red Ceramic Bezel Jubilee Bracelet Stainless Steel 40mm MINT CONDITION COMPLETE SET 126710BLRO
Tools Needed to Adjust a Rolex Datejust Bracelet
Using the right tools helps you size a Datejust bracelet safely and prevents scratches, stripped screws, or misaligned links. Below are the essentials that make each adjustment smooth and controlled:
- 1.6 mm Rolex Screwdriver: Needed for removing and tightening screw links on modern Oyster and Jubilee bracelets.
- Spring-Bar Tool: Used to shift micro-adjustment bars inside Oysterclasp and Crownclasp systems.
- Microfiber Cloth: Provides a soft, protective surface that keeps metal parts from rubbing against a hard table.
- Link Holder or Bracelet Sizing Block: Stabilizes the bracelet while you loosen or tighten screws.
- Masking Tape: Protects the case and nearby links from accidental scratches during adjustments.
- Torque Driver (Optional): Helps tighten screws to the recommended 5 to 7 cN·m for a secure, factory-level finish.

How to Adjust a Rolex Datejust Bracelet Using Easylink
Easylink is the 5 mm comfort extension found on many modern Datejust models. It allows you to tighten or loosen the bracelet instantly without tools, making it ideal for wrist changes during warm or cold conditions.
Here is how to adjust it properly:
1. Open the Clasp – Lift the safety mechanism (if present) and open the clasp fully to reveal the inner extension system.
2. Locate the 5 mm Easylink Extension Fold – Look for the small folded section inside the clasp. This hinge-like piece controls the extra 5 mm of length.
3. Pull Out to Extend or Fold In to Shorten – To loosen the bracelet, unfold the Easylink outward until it opens completely. To tighten the bracelet, fold the extension back into the clasp until it sits flat.
4. Ensure the Easylink Clicks Securely Into Place – Press gently until you feel or hear a soft click. A secure lock prevents the extension from collapsing while worn.
5. Close the Clasp and Check the Fit – Close the clasp fully and test the bracelet around your wrist. Adjust again if the bracelet still feels too loose or too snug.
How to Micro-Adjust a Rolex Datejust Oysterclasp
Some Datejust Oyster bracelets feature internal micro-adjustment holes that allow you to fine-tune the fit in small increments. This method is helpful when Easylink alone does not provide the perfect wrist size.
Below are the steps to adjust the fit using the internal slots:
1. Open the Oysterclasp to Reveal the Adjustment Slots – Lift the clasp fully and look inside the clasp body. You will see several small holes lined along the inner wall that control the position of the spring bar.
2. Use a Spring-Bar Tool to Shift the Bar to a New Position – Compress the spring bar with the tool and slide it into a different hole. Move it inward to tighten the bracelet or outward to loosen it. Work slowly to avoid slipping.
3. Confirm the Spring Bar Is Fully Seated – Make sure the bar snaps firmly into the chosen hole. A partially seated bar can shift under tension and cause the clasp to sit unevenly.
4. Close the Clasp and Test the Fit – Close the Oysterclasp completely and check how the bracelet feels on your wrist. Repeat the process if the bracelet still feels too loose or too snug.
How to Adjust a Rolex Datejust Jubilee Bracelet on a Crownclasp
The Jubilee bracelet with a hidden Crownclasp has a discreet internal adjustment system. Although the mechanism is concealed, the process is simple once you know where to look.
Here is how to adjust the hidden slot correctly:
1. Open the Crownclasp by Lifting the Rolex Coronet – Gently lift the coronet logo to release the hidden clasp. Open it fully to expose the inner structure of the bracelet.
2. Identify the Internal Micro-Adjustment Slot – Look inside the clasp for a single adjustment slot or hole. This slot holds the spring bar that controls the bracelet length on Crownclasp models.
3. Use a Spring-Bar Tool to Move the Bar to a New Hole – Compress the spring bar with the tool and slide it into the next available position. Moving it inward provides a tighter fit, while shifting it outward loosens the bracelet.
4. Ensure the Bar Locks Fully – Check that the spring bar snaps into place and sits evenly inside the slot. A secure lock prevents the bracelet from shifting when worn.
5. Close the Clasp and Check Fit – Close the Crownclasp carefully and test how the bracelet feels on your wrist. Repeat the adjustment if the fit still needs fine tuning.
How to Remove Links From a Rolex Datejust Bracelet (Modern Screw Links)
Modern Rolex Datejust bracelets use screw links, which make sizing predictable and secure when handled correctly. Follow these steps to remove links safely without damaging the bracelet:
1. Lay the Bracelet on a Soft Microfiber Cloth – Place the bracelet flat on a clean, padded surface to prevent scratches while working on the screws.
2. Use a 1.6mm Rolex Screwdriver to Loosen a Link Screw – Insert the screwdriver into the screw head and turn slowly in a controlled motion. Keep the tool perfectly vertical to avoid slipping.
3. Remove Only One Screw at a Time to Prevent Stripping – Avoid loosening multiple screws at once. Focusing on a single screw keeps the bracelet stable and protects the threads.
4. Remove the Link and Keep Screw + Sleeve Together – Slide the link apart and collect the screw and internal sleeve as a pair. These pieces must stay together for later reinstallation.
5. Reconnect the Bracelet Ends Carefully – Align the bracelet ends and reinsert the screw and sleeve. Make sure both sides sit flush before tightening.
6. Tighten Screws to Approx. 5–7 cN·m Torque – Turn the screw until snug. If you have a torque driver, use it to avoid overtightening and damaging the threads.
7 Store Removed Links for Future Use – Keep extra links, screws, and sleeves in a small pouch or box. You may need them if your wrist size changes later.
How to Adjust a Vintage Datejust Bracelet (Pin-and-Tube Links)
Many older Datejust bracelets, including vintage Jubilee and Oyster models, use a pin-and-tube system instead of screws. These require careful handling because the pins and tubes are small, friction-fit components that can bend if pushed incorrectly.
Below is the proper procedure for shifting the pin-and-tube assembly without deforming its friction-fit components:
1. Locate Directional Arrows Inside the Links – Turn the bracelet over and look for small arrows on the underside. These arrows indicate the correct direction for removing the pins.
2. Push the Pin Out Using a Pin Pusher – Place the bracelet on a link holder and gently push the pin in the direction of the arrow. Apply steady pressure to avoid bending the pin or damaging the link.
3. Remove Pin + Tube and Keep Them Together – Once the pin emerges, slide it out completely along with the internal tube. Keep both components paired so they stay matched to the original link.
4. Insert Tube Into the New Link Position – Place the tube inside the link you want to reconnect. Make sure it sits straight inside the hole to avoid misalignment when reinserting the pin.
5. Press the Pin Back In Until Fully Flush – Push the pin back through the tube in the opposite direction of the arrow until it sits level with the bracelet surface. Confirm that the link moves smoothly and securely.
What Not to Do When Adjusting a Rolex Datejust Bracelet
Avoiding common mistakes helps prevent scratches, stripped screws, bent pins, and clasp damage. Each Datejust bracelet type has small tolerances, so even minor missteps can affect how securely the bracelet fits or how long it lasts.
These are the critical mistakes to avoid during any Datejust bracelet sizing procedure:
- Do Not Use the Wrong Screwdriver Size – A non-Rolex or incorrect-width screwdriver can slip and scratch the bracelet or strip the screw head, making future adjustments difficult.
- Do Not Force Stiff Screws – If a screw does not turn easily, stop immediately. Forcing it can damage the screw threads or snap the sleeve inside the link.
- Do Not Adjust the Bracelet Without Stabilizing It – Working without a link holder or supportive surface can cause tools to slip, especially when rotating small screws or spring bars.
- Do Not Move the Spring Bar Unless You See the Slot Clearly – Blind adjustments inside the clasp can bend the spring bar or scratch the internal clasp walls.
- Do Not Remove Multiple Links at Once – Taking out several screws before reconnecting the bracelet increases the risk of losing parts or reversing link orientation.
- Do Not Ignore Resistance on Pin-And-Tube Bracelets – On older Datejust bracelets, resistance means the pin is misaligned or the tube is binding. Forcing it can bend the pin or distort the link.
- Do Not Adjust the Bracelet on a Hard Surface – Metal-on-metal contact can cause dents, flat spots, or hairline scratches that are difficult to polish out.
- Do Not Continue if the Clasp Feels Misaligned – A crooked clasp after adjustment suggests uneven link removal. Wearing it anyway can cause premature stretch or clasp wear.

Useful Tips for Adjusting a Rolex Datejust Bracelet
Use these additional techniques to get a cleaner, safer, and more precise adjustment. Each tip avoids repeat concepts and focuses on finer details that improve long-term bracelet fit and durability.
- Tape the Bracelet Edges Before Working – A thin strip of masking tape along the polished or brushed edges prevents accidental scratches from the screwdriver or spring-bar tool.
- Warm the Bracelet Slightly Before Adjustment – Holding it in your hands for a minute helps the metal expand just enough to ease stubborn screws or tight spring bars.
- Always Balance Link Removal Between Both Sides – Removing links from only one side shifts the clasp off-center, which can cause uneven wear and a twisted bracelet profile.
- Recheck Screw Tension After 24 Hours – Screws on modern Rolex bracelets can settle after the first wear. A quick retightening ensures they do not loosen over time.
- Use a Torque Driver When Possible – Applying 5–7 cN·m keeps screws tight without over-tightening, which protects the internal sleeve and prevents thread damage.
- Inspect the Clasp Hinge Before Closing – Make sure the hinge aligns smoothly with no wobble. This prevents premature wear on Oysterclasp or Crownclasp components.
- Keep Removed Links in a Labeled Pouch – Recording the date and number of links helps you restore the bracelet later, especially for resale or seasonal wrist changes.
- Check for Bracelet Taper Direction – Oyster and Jubilee bracelets taper from the lugs to the clasp. Reattaching links in the wrong direction creates uneven spacing and visible misalignment.
When to Ask a Professional to Adjust a Rolex Datejust Bracelet
You should get professional help when the adjustment involves parts that are delicate, difficult to access, or easy to damage. While basic sizing is manageable at home, certain situations require the experience and tools of a trained watchmaker.
Seek expert assistance when:
- Screws Feel Unusually Tight or Won’t Budge – Forcing them can strip threads or snap the screw head, which is costly to repair on Rolex bracelets.
- You Notice Play or Flex in the Clasp After Adjustment – Misaligned internal components, especially in the Crownclasp, should be corrected by a professional to avoid long-term wear.
- The Bracelet Develops Side-To-Side Stretch – Vintage Jubilee bracelets are prone to stretch, and improper handling during adjustments can worsen it.
- Spring Bars Appear Bent or Worn – Rolex spring bars are critical to safety, and worn bars should be replaced with genuine parts by a watchmaker.
- You Are Resizing an Older Pin-And-Tube Bracelet – These require precision and the correct punch tools to avoid deforming the tubes or bending the pins.
- Your Datejust Has Precious Metal Components – White gold, yellow gold, Everose, and two-tone bracelets scratch easily and benefit from professional handling.
- You Want Factory-Level Torque and Sealing – Rolex centers use calibrated tools to secure screws and ensure the bracelet is perfectly balanced.
Final Thoughts on Adjusting Datejust Bracelet
Adjusting a Rolex Datejust bracelet becomes much simpler once you understand how the links, clasps, and micro-adjustments work across Oyster and Jubilee designs. When you follow the correct steps, use the proper tools, and handle each component with controlled movements, you protect the bracelet’s integrity and maintain long-term comfort on the wrist.
Taking the time to size your Datejust carefully improves daily wear and helps preserve the watch’s overall value. If an adjustment feels uncertain or requires delicate work, a professional can ensure everything fits perfectly. Let your Datejust sit comfortably, securely, and exactly the way it should.
FAQs About Adjusting a Rolex Datejust Bracelet
Should I use Easylink or remove links for sizing?
Easylink is best for small comfort adjustments, such as wrist swelling or temperature changes. If the bracelet still feels loose or tight after using the 5mm extension, removing or adding links provides a more permanent and accurate fit.
Are Jubilee and Oyster bracelets adjusted the same way?
Both use similar principles, but the mechanisms differ. Oyster bracelets often rely on the Oysterclasp micro-adjustment system, while Jubilee bracelets on a Crownclasp have hidden internal slots. Each clasp requires a slightly different technique for precise sizing.
Does every Datejust bracelet have Easylink?
Most modern Datejust models include a 5mm Easylink extension, especially those with Oyster bracelets. However, some older references and certain Jubilee Crownclasp configurations do not have Easylink and rely solely on micro-adjustments or link removal for sizing.
Should I take my Datejust to a Rolex center for adjustment?
If you are unsure about handling screws, spring bars, or older bracelets with fragile components, a Rolex center or certified watchmaker is the safest choice. They ensure correct torque, proper alignment, and scratch-free handling during sizing.