Adjusting the bracelet on a Rolex GMT-Master II is about achieving the right fit for daily wear, not changing the watch’s look or proportions. A properly adjusted bracelet keeps the case centered on the wrist, prevents the clasp from shifting, and reduces unnecessary wear caused by a watch that’s too tight or too loose.
Most GMT-Master II models use Rolex’s Oyster bracelet paired with an Oysterlock clasp and built-in comfort features like Easylink. These systems are designed to be adjusted incrementally, allowing you to fine-tune fit as your wrist changes throughout the day or across seasons.
The sections that follow explain how these bracelet components work together and how to adjust them correctly so comfort, balance, and long-term wear are all maintained.
What Does Adjusting a Rolex GMT-Master II Bracelet Involve?
Adjusting a Rolex GMT-Master II bracelet means setting the bracelet length and clasp position so the watch sits securely and comfortably on your wrist. It focuses on fit and balance (using links and clasp features to fine-tune comfort) rather than altering the watch’s appearance or style.
Bracelet Links vs Clasp Adjustments
Bracelet adjustment happens in two distinct ways. Link adjustment is permanent sizing, where metal links are added or removed to change the overall length of the Oyster bracelet. This is done when the bracelet is clearly too long or too short.
Clasp adjustments, such as the Easylink extension, are micro-adjustments. They allow small changes in fit without removing links, typically to accommodate wrist swelling throughout the day or seasonal changes. Understanding which adjustment to use prevents unnecessary link removal and keeps the bracelet properly balanced.
Why Proper Bracelet Fit Matters
A correctly adjusted bracelet keeps the GMT-Master II centered on the wrist and prevents the clasp from drifting to one side. This improves comfort during long wear and reduces pressure points. Just as important, proper fit limits bracelet flex, screw wear, and accidental knocks. This helps preserve both comfort and the long-term condition of the watch.
Which GMT-Master II Bracelets Can Be Adjusted?
Most Rolex GMT-Master II models are designed with adjustable bracelet systems, but the exact features depend on the bracelet and clasp configuration. Knowing what hardware your watch has helps you understand which adjustments are available and how far you can fine-tune the fit without removing links.
Oyster Bracelet on GMT-Master II Models
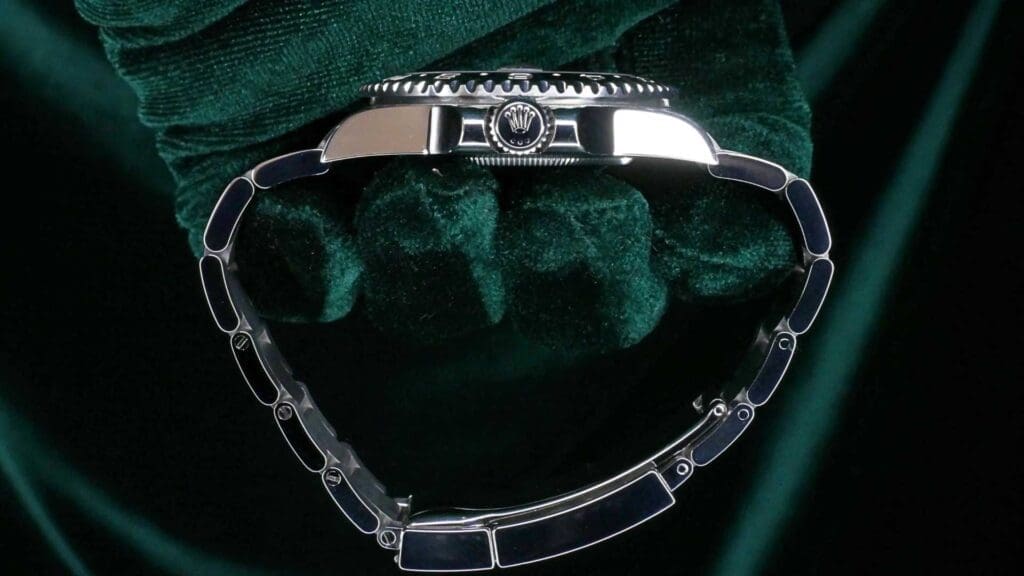
The majority of modern GMT-Master II references are fitted with Rolex’s Oyster bracelet. This three-link stainless steel bracelet is fully adjustable through removable links, allowing the overall length to be sized precisely to your wrist.
Each link is secured with screws rather than pins, making controlled adjustments possible when the correct tools are used. This design provides the foundation for proper sizing before any micro-adjustments are considered.
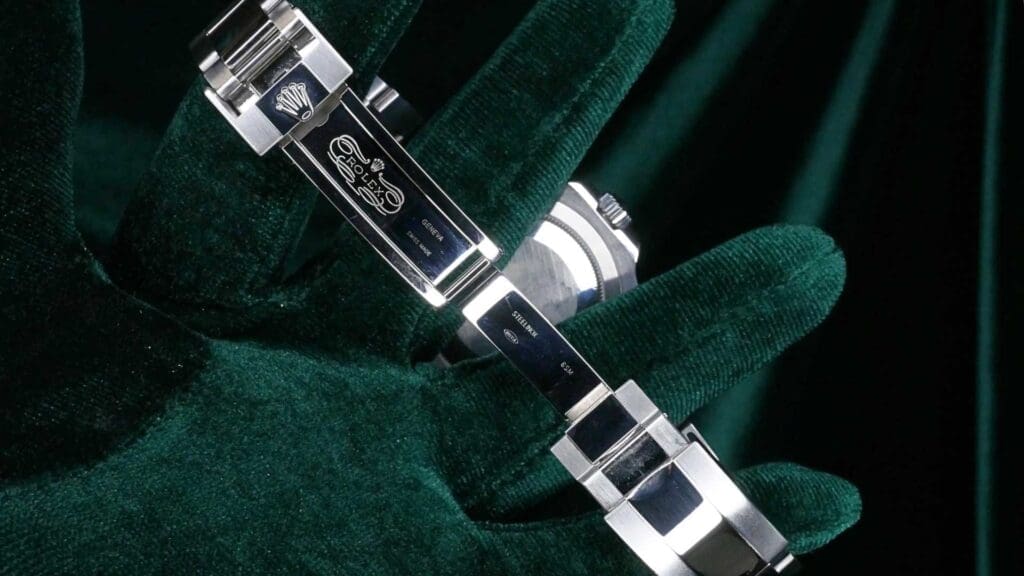
Oysterlock Clasp With Easylink Extension
Most Oyster bracelets on the GMT-Master II are paired with an Oysterlock clasp that includes the Easylink extension system. Easylink allows the bracelet to expand by approximately 5 mm without tools, offering quick comfort relief when your wrist swells due to heat, activity, or travel.
How to Adjust a Rolex GMT-Master II Bracelet Step by Step
Adjusting a Rolex GMT-Master II bracelet works best when you start with comfort checks, use Easylink for small changes, and only remove links when the fit is clearly off. The goal is a secure fit with a centered clasp; comfortable enough for long wear, but stable enough that the watch doesn’t slide or rotate.
Step 1 – Check Current Fit on the Wrist
Put the watch on and wear it for a few minutes so it settles. A proper fit should feel secure but not restrictive:
- The case should sit centered on top of your wrist without sliding toward the hand.
- You should be able to fit one fingertip under the bracelet comfortably.
- If the bracelet leaves deep marks, feels numb, or pinches when you bend your wrist, it’s too tight.
- If the watch rotates, slides when you move your arm, or hangs low toward the wrist bone, it’s too loose.
Do this check at a normal room temperature. If you’ve just come from heat or exercise, your wrist may be temporarily swollen.
Step 2 – Use the Easylink Extension for Small Adjustments
If the fit is only slightly tight, especially in warm weather, use the Easylink extension, which adds about 5 mm of length without tools. It’s meant for comfort changes during the day, not for full sizing.
Use Easylink when:
- Your wrist swells from heat, travel, or activity
- The bracelet feels fine in the morning but tight later
- You want a quick relief adjustment without removing links
Step 3 – Adding or Removing Bracelet Links
Link changes are the “true resizing” step. If the bracelet remains loose even with Easylink closed, remove a link. If it becomes too tight even with Easylink open, add a link (or reinstall one that was removed).
If you’re between sizes and can’t get the fit right with links alone, prioritize a slightly snug fit with Easylink available for expansion—this usually feels more stable in daily wear.
General rule:
- Make one change at a time, then test the fit again.
- Treat link removal as a measured adjustment, not something to rush.
Step 4 – Balance the Bracelet Evenly
Bracelet balance matters as much as length. Removing all links from one side can shift the clasp off-center, making the watch feel unstable and causing the case to slide.
For a natural fit:
- Keep the clasp centered under your wrist
- Remove links from both sides when possible rather than stripping one side entirely
- After any change, check whether the clasp sits straight and the watch head remains centered
Step 5 – Secure Screws and Clasp Properly
Once sizing is correct, confirm everything is secure:
- Bracelet screws should be snug and seated cleanly—never forced
- Avoid over-tightening, which can damage threads or make future adjustments difficult
- Open and close the clasp a few times to confirm it locks firmly and doesn’t feel loose
As a final safety check, lightly tug the bracelet on both sides and ensure there’s no unexpected movement. When the screws are properly seated and the clasp closes cleanly, the bracelet adjustment is complete and ready for daily wear.
Tools Needed to Adjust a Rolex GMT-Master II Bracelet
Adjusting a Rolex GMT-Master II bracelet doesn’t require a full watchmaking kit, but it does require the right tools. Using improper tools is one of the most common causes of scratched links and stripped screws during bracelet sizing.
Proper Screwdriver Size
Rolex bracelet screws are precisely machined and require a correctly sized flat-head screwdriver. The blade should fill the screw slot fully from edge to edge, with no wobble. A loose or undersized tip is more likely to slip, damaging both the screw head and the bracelet surface.
A quality jeweler’s screwdriver with a hardened, well-fitted blade provides better control and reduces the risk of stripping. Apply steady pressure, keep the blade square to the screw, and work slowly. Rolex bracelet screws should turn smoothly when the tool fits correctly.
What to Avoid Using
Avoid using household tools or makeshift substitutes. Items like small kitchen screwdrivers, pocket knives, scissors, or multi-tools often have poorly shaped tips that don’t seat correctly in the screw slot. These tools slip easily, leading to scratched links, marred screw heads, or uneven torque.
Also avoid gripping the bracelet directly on hard surfaces without protection. Always work on a soft cloth or mat to prevent accidental scratches while handling the bracelet during adjustment.
Common Bracelet Adjustment Mistakes to Avoid
Most bracelet adjustment problems on a Rolex GMT-Master II come from moving too quickly or overlooking balance rather than from the adjustment itself. Being aware of these common mistakes helps you size the bracelet confidently and avoid unnecessary wear.
Removing Too Many Links at Once
Taking out multiple links in one go can overshoot the correct fit, forcing you to reinstall links and repeat the process. Bracelet sizing is incremental by nature: small changes make a noticeable difference on the wrist.
A safer approach is to remove one link at a time, then try the watch on and reassess. This allows you to fine-tune fit without guessing and reduces the chance of ending up with a bracelet that’s suddenly too tight or unbalanced.
Ignoring Bracelet Balance
Focusing only on length and ignoring balance can cause the clasp to drift off-center. When too many links are removed from one side, the clasp may sit closer to the wrist bone, making the watch feel unstable and causing the case to slide or tilt.
Overtightening or Cross-Threading Screws
Overtightening can damage threads, make future adjustments difficult, or lead to seized screws. Cross-threading—starting the screw at an angle—can permanently compromise the link. To avoid this, always seat screws gently, feel for smooth engagement, and stop tightening once the screw is snug.
Should You Adjust the Bracelet Yourself or Visit a Watchmaker?
Deciding whether to adjust the bracelet on a Rolex GMT-Master II yourself or leave it to a professional comes down to the size of the change and the condition of the bracelet. Some adjustments are designed for owners to handle, while others are best left to experienced hands.
When DIY Adjustment Is Safe
DIY adjustment is generally safe for minor changes. Using the Easylink extension for comfort adjustments requires no tools and carries virtually no risk. Small link changes can also be done at home if you have the correct screwdriver, a steady hand, and a protected work surface.
When Professional Adjustment Is Better
Professional adjustment is the better option when the bracelet shows signs of resistance or risk. Seized screws, heavily tightened links, or screws that don’t turn cleanly are easy to damage without proper tools. Likewise, if the bracelet already has visible scratches or you’re aiming for a major size change, a watchmaker can resize it cleanly while protecting the finish.

How Often Should You Adjust a Rolex GMT-Master II Bracelet?
There’s no fixed schedule for adjusting a Rolex GMT-Master II bracelet. How often you make changes depends on how your wrist size fluctuates and how you wear the watch day to day. Occasional adjustments are a normal part of ownership, not a sign that something is wrong.
Seasonal Wrist Changes
Wrist size naturally changes with temperature. In warmer weather, wrists tend to swell, making a properly sized bracelet feel tight. In cooler conditions, the same bracelet may feel loose. This is exactly why features like Easylink exist—to allow small, tool-free adjustments when conditions change.
Travel and Daily Wear Considerations
Travel, activity level, and daily routine also influence fit. Long flights, walking, or extended desk work can all cause temporary wrist swelling. Adjusting the bracelet slightly for comfort during these situations is normal and expected.
Key Takeaways on How to Adjust Rolex GMT-Master II Bracelet
Knowing how to adjust Rolex GMT-Master II bracelet fit comes down to using the right adjustment for the right situation. Keeping the bracelet balanced and the clasp centered matters just as much as getting the length right.
When adjustments are made gradually, with proper tools and light pressure, bracelet sizing is safe and routine. The Rolex GMT-Master II is designed to accommodate regular fit changes, so fine-tuning the bracelet for comfort and stability is part of normal ownership, not something to second-guess.
A perfectly adjusted Rolex GMT-Master II bracelet is the final mark of ownership, ensuring this indispensable tool watch is worn securely, comfortably, and ready for any horizon.